Before you read my directions I'd like you to read this, written by an expert explaining the importance of the temperatures and keeping everything very clean. These are the directions I followed and then modified a bit to make vanilla yogurt.

One half gallon organic whole milk, 1/2 cup organic yogurt starter and organic vanilla beans.
That's it! Really!!
Here are the step that I added in order to get a good vanilla flavored yogurt ...

Split two vanilla beans and scrape out the seeds.

Pour the milk into a crockpot, add the vanilla beans and seeds cover and cook on low for two hours. This allows time for the vanilla to infuse into the milk.

While the milk and vanilla beans are infusing get your jars ready. I use four half pint canning jars. Place in a water bath (I use the same pot that I am later going to use for scalding the milk), bring to a boil and boil for 10 minutes.

Use a jar lifter to remove the hot jars from the water and set them upside down on a clean towel. Discard the water in the pot (which is now sterile too after boiling out the jars).

Transfer the milk and vanilla beans into the heavy bottomed Stainless Steel pot. I repeat; Stainless Steel! In the next step it is very easy to scorch the milk on the bottom of the pot. It doesn't really hurt the yogurt unless you really let it burn away, but it can ruin your pot (ask me how I know!). The only pot that I've been able to get clean again after scorching the milk is my stainless steel stock pot. After transferring the milk to the pot heat it to about 190 degrees (use a jelly or cheese thermometer) ... I like this one that came with my cheese making kit.

The milk will start to look "foamy", but not boiling. While the milk is heating get a cold water bath ready ... either in the sink or in a larger pot ...

I have two stock pots and one fits nicely inside of the other ... a sink works just as well.
Let the milk cool down to 120 degrees. While it is cooling prepare the picnic cooler ... Crap! I didn't take a picture of the outside of the cooler! Well ... it's this one ...

Yes, the same one I use for Taffy's fish (I did wash it out first ;)
Put about four inches of 120 degree water (actually pretty much tap water temperature) in the cooler. Now prepare the starter culture. Put 1/2 cup of a good, plain yogurt (I like Nancy's Organic) in a bowl. When the milk has cooled to 120 degrees take about a cup of it and mix it with the yogurt starter (I'm experimenting to see if I can freeze the starter in 1/2 cup aliquots for later use ... I'll let you know how that comes out) ...

and then pour that back into the pot with the rest of the milk and stir. Remove the vanilla beans (rinse,dry, and set aside ... we aren't through with these ... but that will be another post :)

Use a clean ladle (I use a stainless steel one that I dunk into the water bath while the jars are sterilizing) to fill the jars and cover with plastic caps.

Place the jars in the cooler and adjust the water level until it comes up to just below the bottom edge of the caps. Put the lid on the cooler and go away for eight or ten hours (I usually make this in the evening so I can just let it sit overnight).

In the morning the yogurt will have firmed up.

Transfer the jars to the refrigerator and let them chill ...

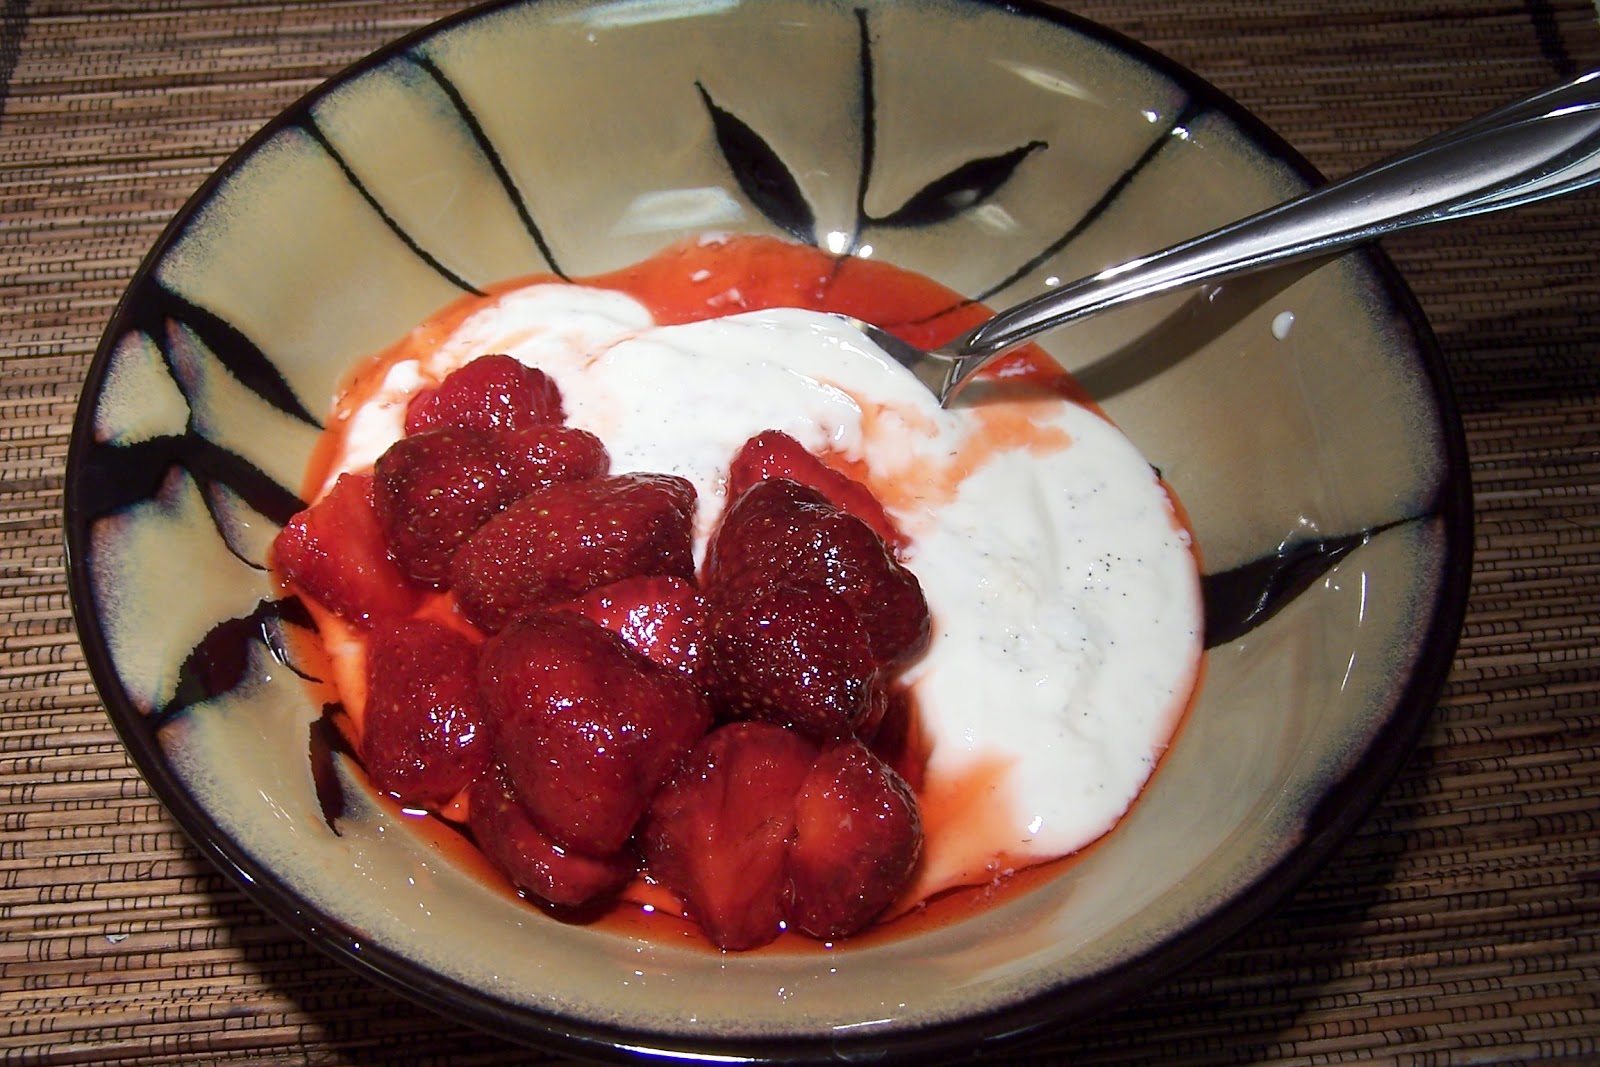
and after a few hours it will look like this!
Serve with fruit or home made granola (recipe coming soon).
Enjoy!

Looks wonderful! I really need to make this. Thanks so much for sharing!
ReplyDeleteThanks for the post. I will be making your recipe. I used to have Salton yogurt maker years ago. Now that Tramp 1 eats yogurt, this would be a really easy way to make our own.
ReplyDeleteThis is great..I really want to learn TO DO THIS. Thanks for sharing=)
ReplyDeleteHey, I really do think this is good. I read the link you gave us and it's the real deal. Thanks!
ReplyDelete